Readers will be aware of the chain master link issue previously mentioned in older posts. I discovered exactly the same problem with another split pin cotter subsequently missing. It was discovered in 3 pieces in the bottom of the primary case. The symptom was the same, the tails of the cotter were broken as if by fatigue. After studying and reflecting on the issue, I've decided to use 1.6mm welding wire. This is some left over from TIG welding chromoly. It feels tougher than mild wire. I'll insert a pre-cut length then bend the tails in the form of a "Z" pattern. Minimum length tails cut short to reduce fatigue..
Update: I elected to use regular mild steel wire after I discovered the tougher wire broke too easily when bent and forth. I plan to inspect after some miles.
Pic: master link with 1.6mm wire inserted and ready for the 2nd bend and snip to length..
The clutch pressure plate has worn the area where the release bearing fits. There'd be 1mm (.040") or more wear. The plan is to braze the area and lathe a new seat for the bearing making it a light tap fit.
I'll make a plate to keep it from warping. The same plate will be used to mount it to the face plate.
Pic of jig ..
Ready for brazing....
Brazed and turned to size..
A spacer was missing from the release mechanism. It may be the cause of the pressure plate wear. I made it from mild steel. 5/8" bore x 14.3mm long. The outside diameter was made to fit the housing and seal carrier. I plan to harden it.
Pic of spacer before hardening..
I hail the Viton tip needle valve as a sensible upgrade. Note: no alcohol in my local gasoline supply.
Viton has long stood the test of time on a great number of bikes over the years. It's a pleasant improvement over regular valves. I can leave the gas on without fear of flooding.
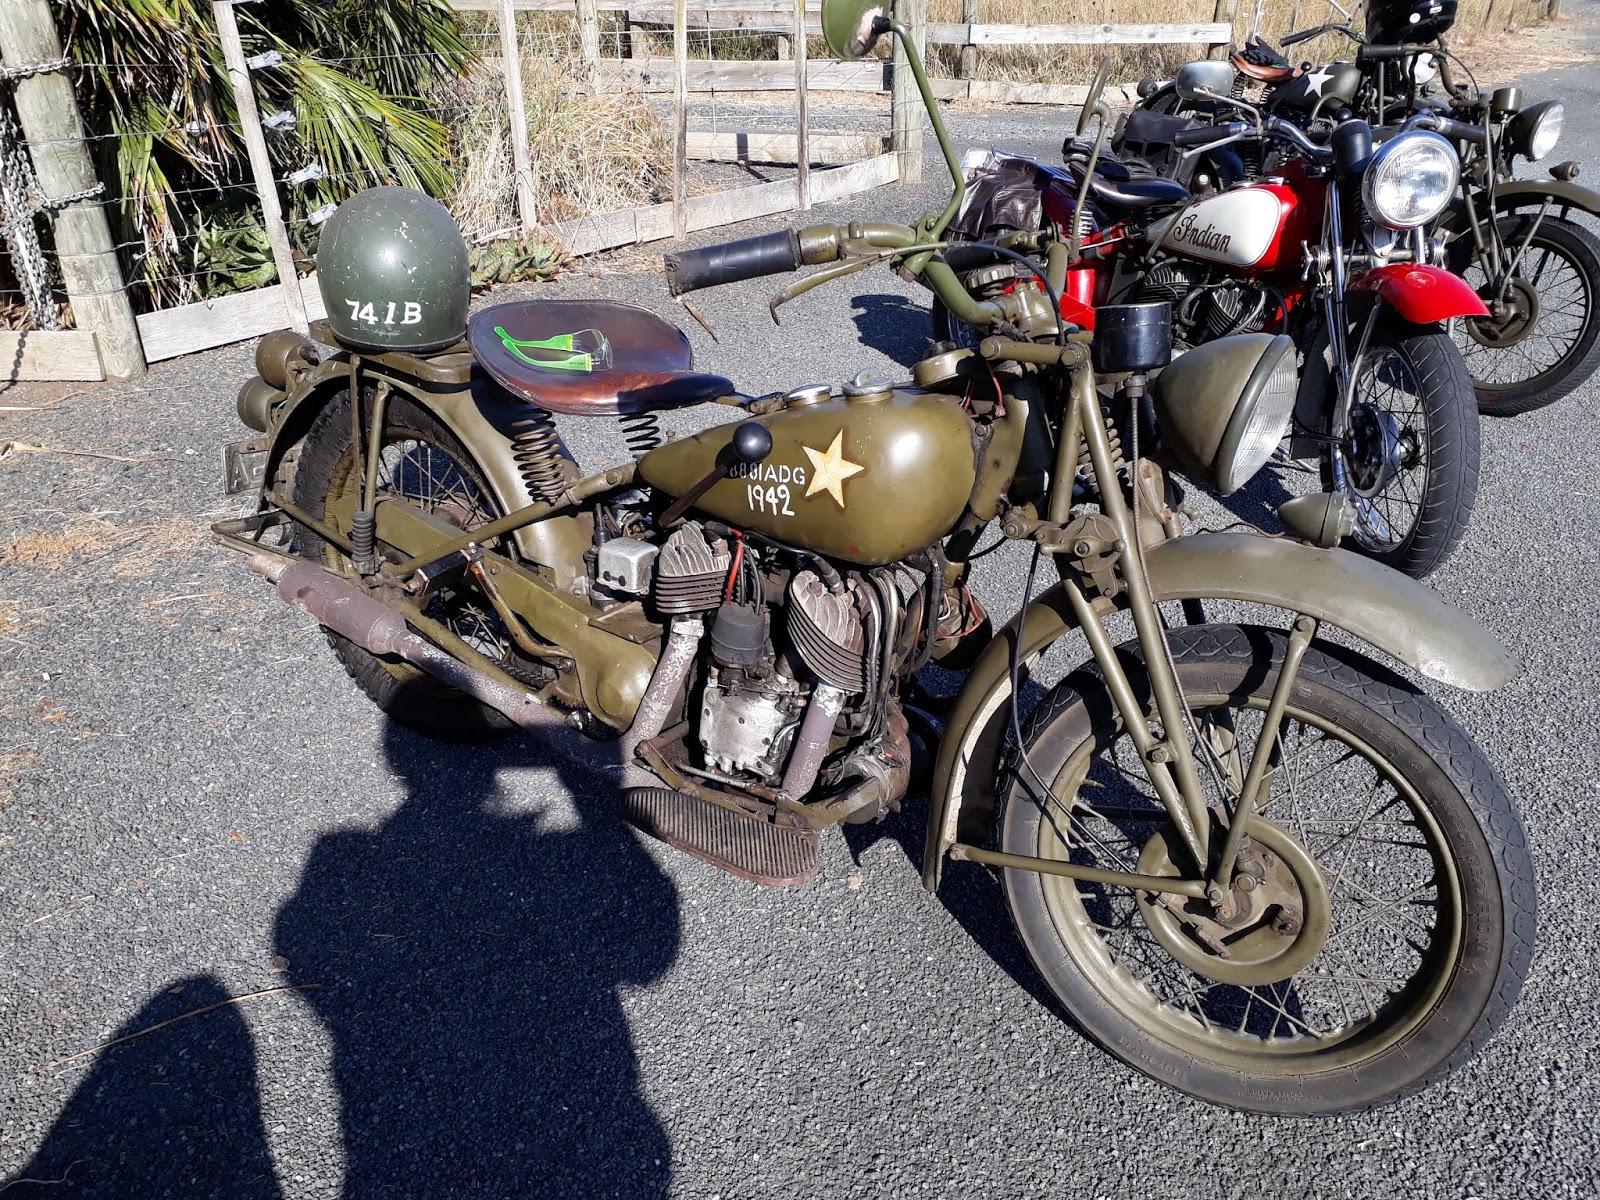
741 has the same needle valve with my Panhead so I can share the spares between the bikes.
Update: the particular Viton tip needle I picked up turned out didn't fit the existing outer. I suppose I should have bought inner and outer as a pair. So I learnt, some of the repop valve parts don't interchange.
The existing cable outers were cut too short, no throttle stop inside the handlebars and the cylinder head clip was missing. I extended the outer by soldering a joining sleeve made from steel tube. The outer was also soldered to the clip. The head clip was a case of bolting it to the appropriate headbolt then twist-orienting it to aim directly at the throttle arm.
I decided to increase the overall gear ratio slightly to a 15 tooth drive sprocket. Pulling off the original 14T sprocket I noted it was a nice firm fit.
The kickstart was missing a washer from the spring so I made one to suit. I could see witness marking of where the spring had been walking over the sprocket nut face. The washer I made has a small shoulder to hold the spring captive, is 3/4" I.D. and abuts the step in the mainshaft. There isn't much room so the washer/spacer needs to be quite thin.
I found the points wire had nearly broken off completely. It was holding by a single strand. It was a good find as that could have broken away on the road. I soldered the terminal after tinning the wire first. Most importantly the wire insulation is captive by the terminal "clamp".
My rule of thumb before setting carb adjustment is to do an old fashioned tune up, what used to be called "plugs and points". The object is to get spark as good as can be, timing set spot on, tappets set, air filter cleaned, etc. etc. Carb setting should be the last thing to set, never the first. This was the message from my fellow workshop mechanics when I was learning the trade and there turned out to be a lot of truth to it. Wise words indeed. Being young and brash I resisted of course..
I set the idle mixture with timing retarded and engine fully warmed after a 10 minute+ ride. Stop and immediately tune the idle mixture. Effectively find the midpoint between rich and lean. The main jet needs to be set by performance on the road. The engine should pull without misfiring from being too rich or lean.
Once I'm happy I've got these two settings close, I mark the positions of the two needles as in the pic.
Marks allow fine tuning, perhaps a click or two either way to see if there's any slight improvement. Marks also allow the original setting to be re-established (with accuracy) if need be. In addition this is handy if someone messes with your settings as some kind of sick practical joke.