Tuesday, November 20, 2018

LED's, 6v considerations, Daytime riding light..

I'm studying 6v LED's so I can run the bike with some sort of lighting during the day and increase the distance I can travel at night without draining the battery. Currently the generator charge rate is set to trickle charge the battery.

These are what I fitted to the speedo... 6v BA9S, very cheap from Aliexpress.

1Dec2018
The tail light, stoplight and blackout lights take BA15S bulbs. I have 2 lots coming from Aliexpress to test.

Ideally I want the little front blackout to light full time when ignition is on. I want it bright, much like the brightness of some of the cyclist lights but not blinding for oncoming traffic.I'm considering this a safety issue. Hoping to achieve this with generator on trickle charge as it is now.

Tail light, I want more light for less amps. Pondering over whether I go red or white LED's.

Stop light, I think at least 50% brighter than the tail bulb.

That's my wish list so we'll see what's achievable in coming days when bulbs arrive.

4Dec2018 update: My "warm white" 6v LEDs turned up from China this morning. Took 13 days from time of order. Well packed...


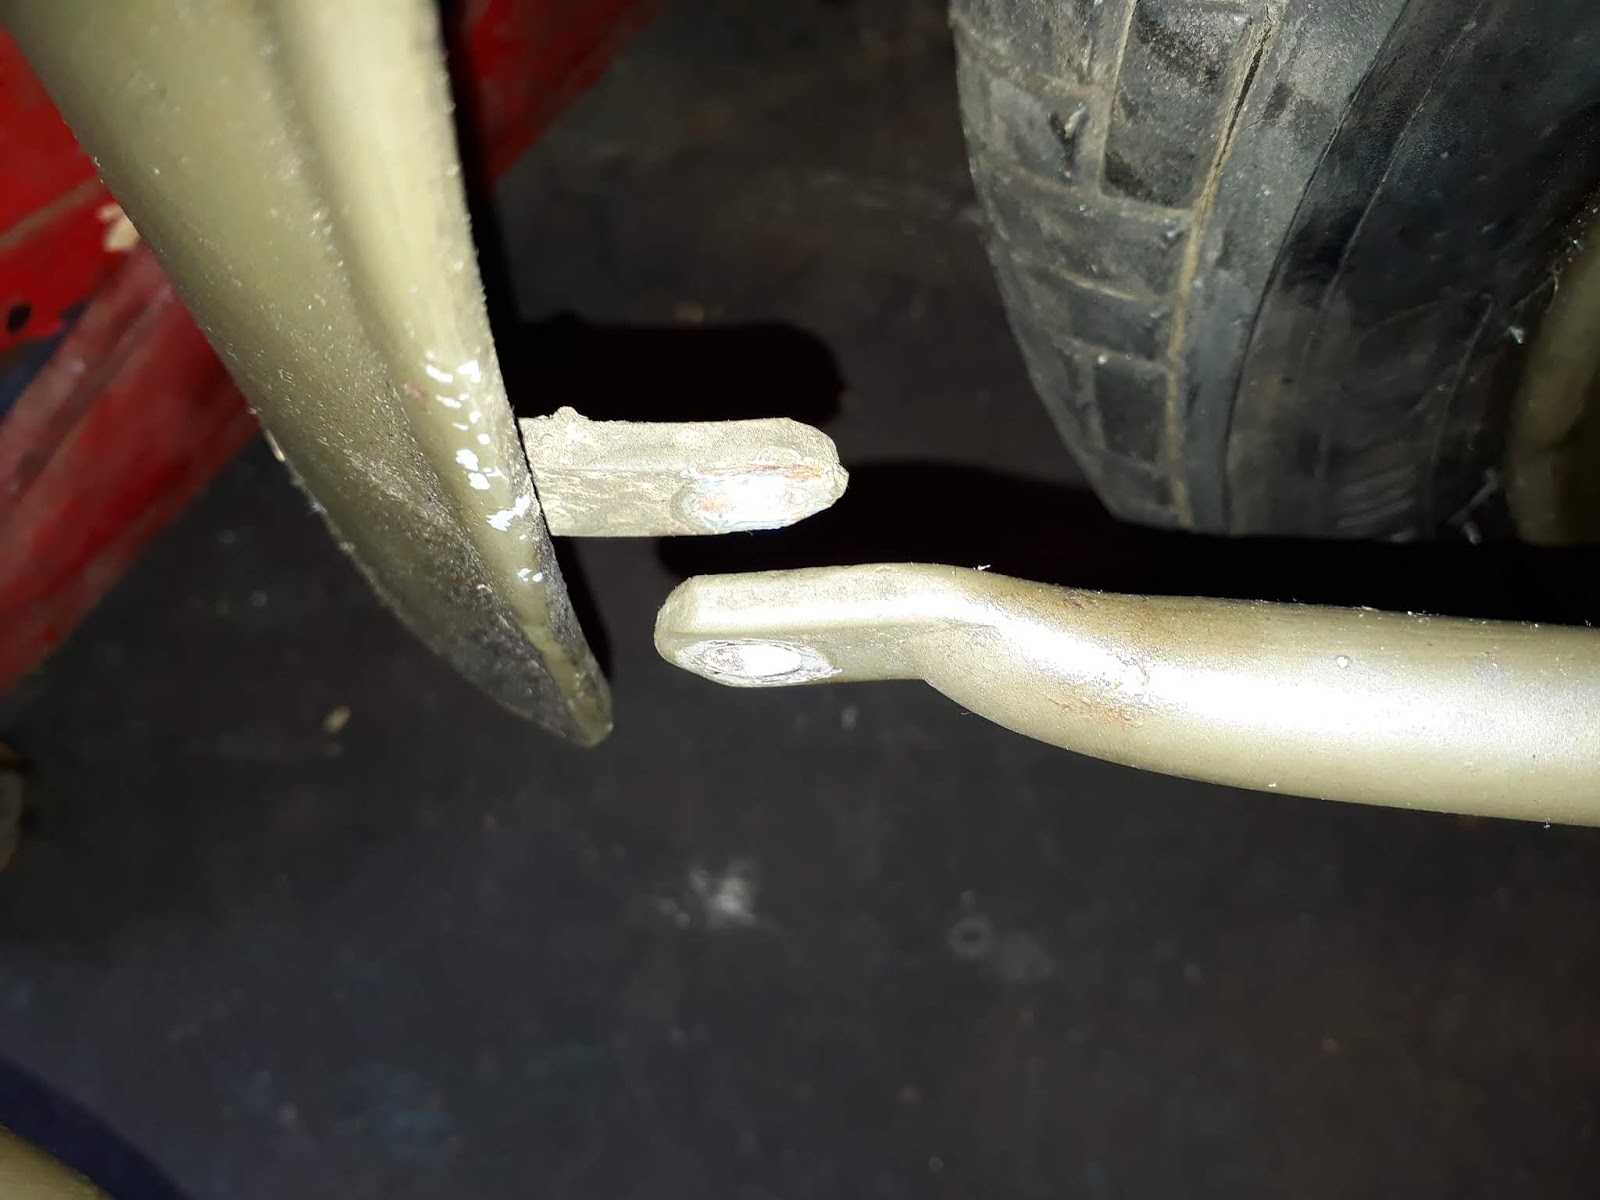
I spray painted the inside of the stop/tail lamp and the little front backout light with bright silver-chrome paint. Pic is after masking/prepping ready for spray painting. The object is to make the inside more reflective and generate more light.
+

With several thin coats of chrome paint.


 I fitted the new LED bulbs and tested in total darkness. Seems OK but I should have taken a photo beforehand to compare. I was aiming to get slightly more light than before with significantly less tax on the electrics. Will ask a fellow motorcyclist to follow and observe before making final conclusion.
I believe it will be brighter than pic shows with the motor running..


Front little blackout light.. am hoping this proves bright enough to be seen. I've connected it so it's always on when ignition is on. These LED's are 1.5w therefore draw 0.25A at 6v. Pic taken with the inside painted with bright chrome.
8Dec update: This LED burnt out within an hour of use. Studying the issue closely, am wondering if the standard unregulated generator increases the voltage to limits above that at which the LED can handle? The generator current is set to just a couple of amps when running but volts could easily be a different story. Plan is to put a simple LCD voltmeter on the bike so I can monitor what the realtime voltage upper limit is.

 9Dec2108 In testing using a simple LCD voltmeter monitoring system running voltage I found readings as follows:
6.0 ~ 9.4v
I contacted the seller who confirmed my upper peak voltage was above what the LED was happy with. Perhaps I should have realized considering 741's have no voltage regulator. So, anyway I learnt something. Ideal would seem to be something that works between 6v and 12v
Stay tuned...


The 6v BA15s LED bulbs arrived for the stoplight....and yes they're nice and bright. These are a red light not white. Early indications are good

17Jan2019
I bought 2 x 5v -24v Ba15S LED bulbs. One is now fitted to the front blackout light. It was tight fit and I had to manipulate the bulb holder orientation slightly to get clearance. It's bright, now for some testing on road.


Friday, November 9, 2018

Armistice

Armistice weekend was 10th- 11th Nov 2018 Karapiro, Cambridge, NZ.
There was a number of tanks, half tracks, jeeps etc.

It was popular with a market and lots of activities.

 My 741 was right at home attracting many comments.


Visit to RSA

I visited a local RSA (NZ Returned Services Association) in nearby Morrinsville. I parked alongside a large gun for photograph. The cold beer was good too..


On road costs

Firstly I had to get a Warrant-of-Fitness (WOF) so I road the bike to local bike shop of Trevor Hall.
Trev has his own 741 Indian in the showroom so I was able to study it closely.
My bike passed inspection with a fee of $40. I then registered it after it being "on hold" for 25 years. I did this part on-line which cost $44 for a years rego. The label will be mailed out.

Saturday, November 3, 2018

First kick..


Primary case

I use Loctite 515 for the sealer, no paper gasket at all. I also applied it to the area noted in the pic below to help keep oil in (as much as one can on a 40's Indian at least).

 Primary case inner and outer carefully prepared. De-burred and cleaned back to shiny metal.I use Scotch Brite to get the surfaces nicely clean. I apply 515 to both surfaces, then clean off surplus with a rag.

 Drain plug sealed with Loctite 567. This is an excellent thread sealant, much like a liquid thread tape.

 Loctite 567 on the chain adjuster..

Tank leak, tap/petcocks

There was a gas tank leak from the RH side. It turned out to be a pinhole, presumably from internal rusting. Fiberglass was chipped out to reveal previous repairs.

 Pinhole in center of white marker pen. It was very small so I dented it in slightly in prep for soldering.

Gasoline was washed out with hot soapy water till suds remain. Then it's safe to solder with a lpg/propane torch. I used regular solder with hydrochloric acid flux. The secret is to get the work clean before attempting to apply solder.

 Solder over the pin hole.

 The RH fuel tap/petcock. It's sealed at the thread with Loctite 567 Teflon paste.

Details (2)

Generator drive chain joiner got some RTV silicone as an extra safeguard to prevent clip coming off.
Countersunk allen head cap screws used to fasten inner chain guard. They were also blue Loctited as was the 5/16" bolt. The generator woodruff key was made from a piece of large key stock. The sprocket nut was blue Loctited. The taper must be worn because I had to add a washer to prevent nut from bottoming out.


Carb/manifold support bracket support was handmade by me 25 years ago. 

 Ammeter needing a clean out. Will investigate the prospect. The dash is hand fabricated by previous owner. Ignition switch showing the fabulous patina.

 Throttle and timing control cables fitted with NOS sheathing.

 The sidestand is mounted on a hexagonal shaft. It's quite loose so may need doctoring.

 More NOS sheathing for the stoplight switch wiring. Will find some proper clips at some stage.

Friday, November 2, 2018

Details (1)

To reduce stress the top head steady mount needed a shim between it and the frame. I measured, then searched out the exact correct thickness shim/washer.

 Pictured is the saddle bag heat shield. This stops heat from the exhaust destroying the leather. It is a reproduction piece though simply made from sheet metal.

The speedo has always been missing the instrument bulb holder. It's one I picked up 20 years ago. I fitted a 6v LED bulb to it. 

Thursday, November 1, 2018

Primary chain

I discovered by accident a piece of split pin/cotter while draining the primary chaincase. It turned out to be one (of the two) from the joining link. Pictured here with missing split pin. How lucky can you get??
 The primary case had been sealed with silicone sealant. While it didn't create any problem there, it was a major problem on the crankcase halves when I rode the bike in the early 90's. Little bits of silicone would break away and lodge in the oil scavenge valve causing it to wetsump.

The primary case will be sealed solely with Loctite 515 (no paper gasket)


Fender/guard stay alignment

There was some realignment to do on the stays...


Getting these aligned nicely reduces stress and breakages.
Also the upper center fender bolt did not screw in easily. It was found that the fender was slightly too wide for the forks so it was carefully squeezed to make a tiny gap either side. This allowed the bolt to screw in freely and eliminate another stress area.